Walk through any large retail chain, and the shelf appeal of a corrugated display or a high-graphic shipping box tells you one thing: preprinted linerboard has quietly become the standard for brands that demand both product protection and visual punch. Yet behind that vibrant, precisely registered surface is a print process that many converters still find intimidating. The good news? When the right equipment and workflow are in place, achieving post-print-like quality—at higher speeds and lower costs—is entirely within reach. This guide unpacks the essentials of using modern flexo presses for corrugated preprint, from prepress planning to final rewinding.
Why corrugated preprint wins over direct print
Post-print flexo on corrugated sheets has served the industry for decades, but it comes with inherent limitations: board crush, irregular fluting that spoils fine screens, and speed ceilings imposed by die-cutting lines. Preprint flips the sequence—printing first on a continuous roll of linerboard, then laminating it to the single-face web on the corrugator. The result is smoother ink laydown, full control over register, and the ability to run lightweight liners that cut material costs. According to Smithers’ The Future of Global Corrugated Packaging to 2027, preprint’s share of the high-graphics segment is growing by nearly 4% annually, driven by e‑commerce and the push for shelf-ready packaging.
Of course, the central question for any converter is: what does it take to make preprint work reliably? Let’s walk through the critical steps.
1. Prep-press decisions that make or break a job
Everything starts in the art room. Unlike offset, flexo requires specific plate and anilox combinations to hold fine dots on an absorbent substrate. For preprint on kraft or white-top liners, a minimum plate screen of 120 lpi with a bump curve for dot gain compensation is typical. I’ve seen shops struggle with muddy shadows simply because they tried to reuse plate specifications from a narrow-web label job.
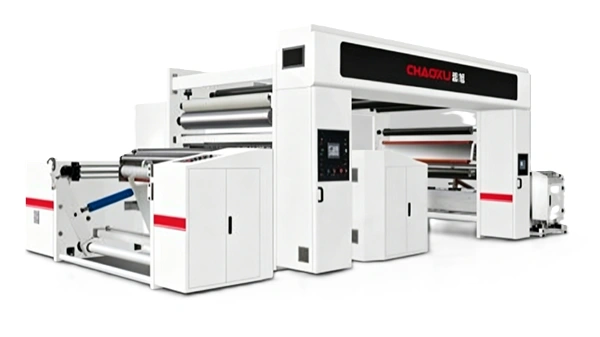
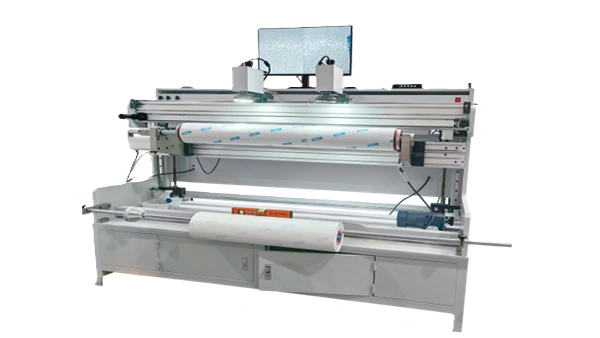
Equally important is your anilox selection: a 400–500 LPI, 4.0–5.5 BCM anilox roll generally delivers the right ink film weight for solid areas without plugging the plate’s highlight cells. To get this dialed in early, many production managers now invest in a high-quality corrugated preprint line that gives them the repeatable print conditions necessary for consistent plate and anilox matching.
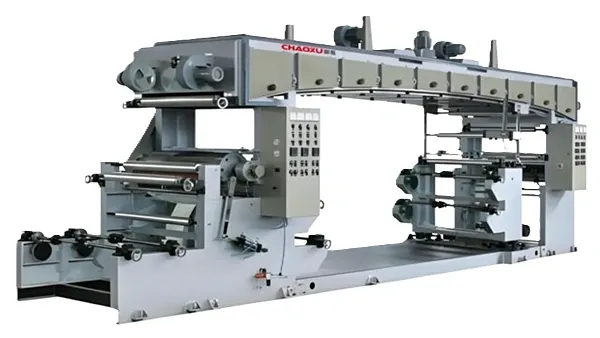
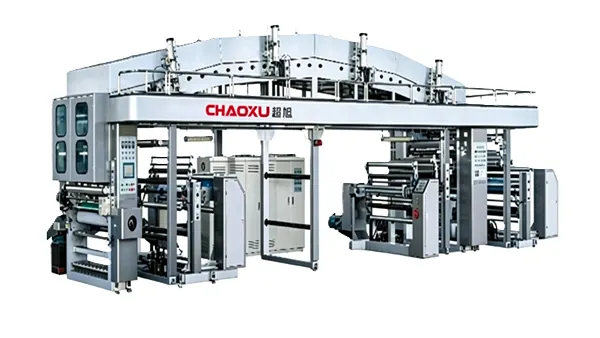
2. Press setup and the wide-web difference
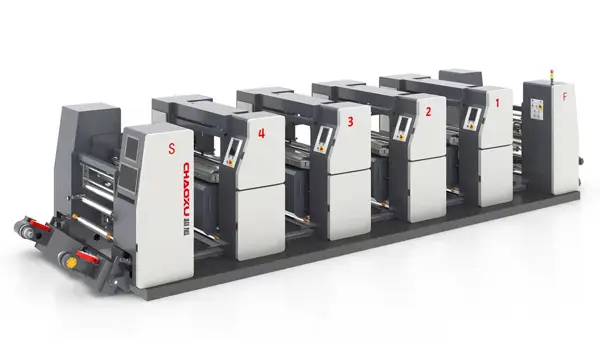
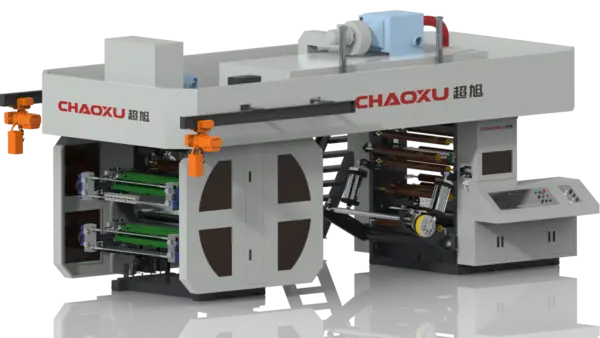
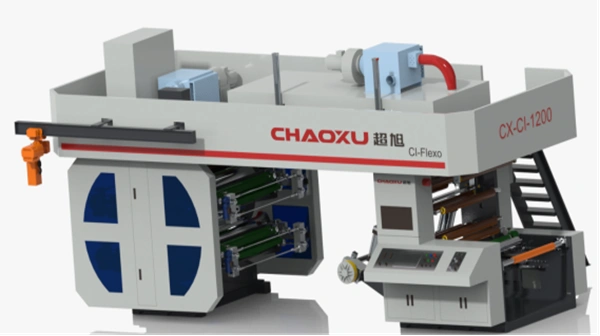
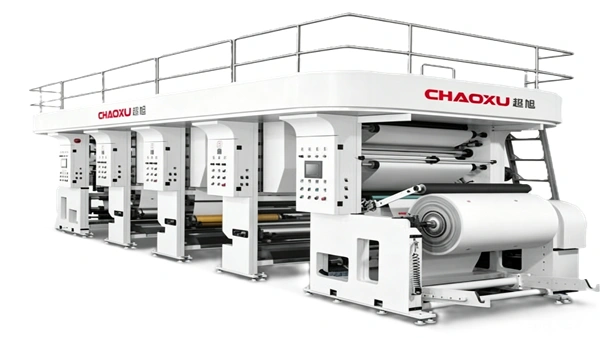
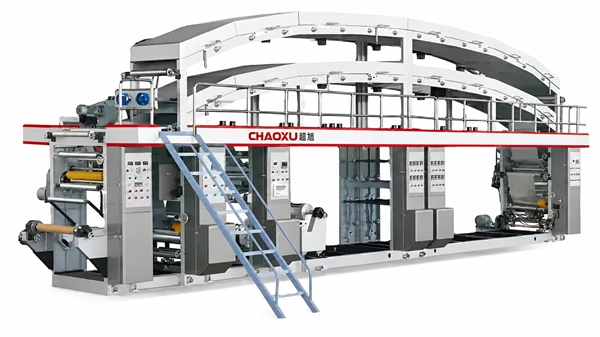
Preprint presses handle webs from 1,600 mm up to 2,800 mm wide—dimensions that make temperature control and tension management non-negotiable. A central impression (CI) drum configuration is the dominant choice because it locks all color stations around a single, temperature‑controlled drum, virtually eliminating substrate elongation between units.
When commissioning a new preprint reel, I recommend a step‑by‑step startup routine:
-
Tension profiling: Set unwind tension at 0.8–1.2 N/mm of web width, and gradually increase rewind tension to avoid telescoping.
-
CI drum temperature: Maintain ±1 °C of your target. A cold drum causes condensation and uneven ink transfer; an overheated drum accelerates solvent evaporation and can lead to pinholing.
-
Impression setting: Use a kiss impression—just enough pressure to transfer ink. Over‑impression on a CI press will immediately show as halo effects in text and barcode areas.
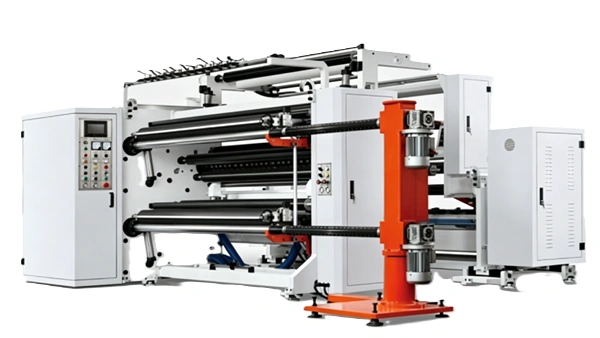
This is where evaluating CI flexo presses designed specifically for preprint becomes a practical exercise, not a theoretical one. Printers that offer automatic impression‑setting and live web‑inspection systems can cut waste by 30–40% during makeready.
3. Ink and drying: balancing water-based chemistry
Corrugated preprint runs predominantly water-based inks. The challenge is that linerboard absorbs moisture, altering the sheet’s physical properties before it ever hits the corrugator. A target viscosity of 18–22 seconds (Zahn Cup #2) generally works well, but the real battle is pH. When pH drifts above 9.5, resin solubilization changes and drying speed suffers; below 8.5, you risk ink instability. Automated ink-dispensing and viscosity-control units are increasingly common on modern preprint fleets, and for good reason.
Drying is equally nuanced. Between‑color dryers must remove enough water to prevent tracking without skinning the plate. High‑velocity hot‑air knives at 70–90 °C, followed by chill rolls immediately after the last deck, maintain both print quality and web stability. If you notice the web curling toward the printed side before the laminator, it’s a tell-tale sign that the inter‑station drying is too aggressive.

4. Common pitfalls and how to sidestep them
Even experienced flexo operators can trip when moving from narrow-web to wide-web preprint. Here are four that surface time and again:
-
Starved ink cells: Using the same anilox engraving for coated and uncoated liners. Uncoated board drinks ink; a 3.8 BCM cell that works beautifully on a clay‑coated sheet will deliver a washed‑out look on natural kraft.
-
Ghosting from out‑of‑round rolls: An eccentric anilox or plate cylinder creates a repeating density variation that is amplified on a wide web. Periodic run‑out checks with a dial indicator prevent this.
-
Static‑induced print mottle: Low‑humidity environments and fast‑moving webs generate static that distorts ink droplets. Installing active static‑elimination bars at the unwind and before the first print station can solve it overnight.
-
Ignoring the laminator’s preheat setting: The corrugator’s preheating drum can subtly change the liner’s moisture content, shifting colors. Always confirm the laminator setup with the preprint operator before a production run.
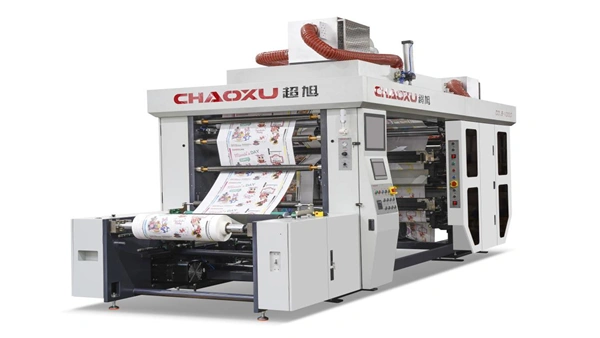
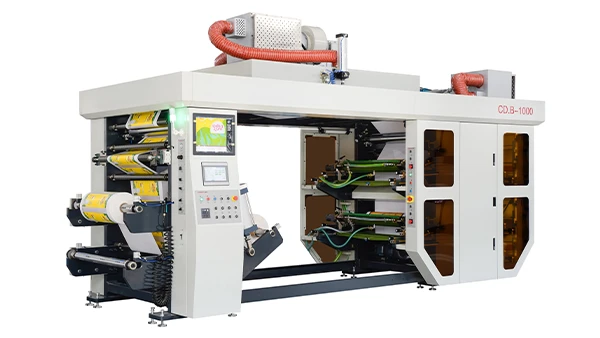
Keeping these variables under control doesn’t require a fully automated factory, but it does call for a flexographic printing machine engineered with the rigidity and thermal stability that preprint demands. Not every flexographic printing machine on the market is optimised for wide, lightweight webs—some are adapted from mid‑web film presses and never quite deliver the required registration accuracy over millions of impressions.
5. Taking your preprint line further
Once baseline quality is stable, the next frontier is reducing time-to-market. Many converters are now implementing fixed‑palette printing, where seven or eight colors (CMYK plus green, orange, and violet) remain in the press, and plates are changed without washing the ink system. This allows job‑changeover times under 15 minutes on a preprint line, provided the press architecture supports quick‑change sleeve systems and movable deck positioning.
Another lever is data collection. By tracking register error, color density, and press stops over a rolling 30-day period, operators can move from reactive troubleshooting to preventive maintenance. One plant I visited reduced unplanned downtime by 22% simply by adding non‑contact spectrophotometers on the rewinder and graphing the L*a*b* values daily.
If you’re evaluating how to scale your preprint capability without over‑engineering your floor, Chaoxu’s corrugated preprint flexo technology offers modular configurations that let you start with four colors and add decks as your brand‑owner clientele grows. The approach keeps capital expenditure aligned with real customer pull.

Making the right choice for your operation
Adding preprint to a converting operation is as much a business decision as a technical one. It changes your corrugator scheduling, your raw‑board sourcing, and the way you sell to brands—because suddenly you’re offering a premium graphics option that competes with litho‑laminate at a fraction of the cost.
Getting the press specification right from the beginning removes the biggest variable. When I talk to converters who have lived through the transition, they almost always say the same thing: they underestimated how much precision matters on a 2,000 mm web. Machines that appear similar on a spec sheet can perform completely differently once linerboard is running at 350 m/min. For a closer look at what today’s preprint systems can handle, you can get a custom configuration and real‑world print samples directly from Chaoxu’s application team.
Disclaimer: The information in this article is for educational purposes only. Equipment specifications and performance data vary by application; always consult the manufacturer or a qualified engineer before making capital decisions.