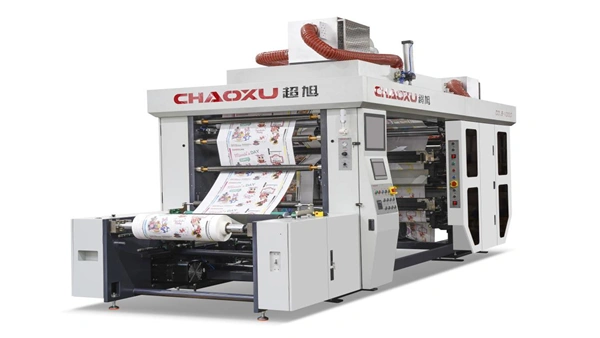
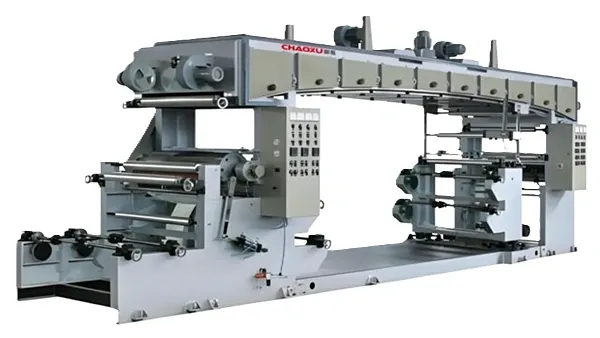
Every flexo converter knows the frustration: you’ve set up the job, loaded the sleeves, and started the press—only to see fisheyes, poor registration, or web breaks within the first 500 meters. The root cause? It rarely lies with the press itself. More often, it traces back to what happened before the substrate touched the first printing station.
In this guide, we’ll walk through a proven material preparation workflow for flexographic and slitting lines. These steps are based on real troubleshooting data from mid‑size packaging plants—and they can save you hours of downtime and thousands of meters of wasted substrate.
Why “Before Printing” Matters More Than You Think
Think of your press as a high‑precision instrument. You wouldn’t play a fine violin with rosin‑coated strings, nor race a car on underinflated tires. Similarly, a modern printing line demands that every incoming roll meets tight specs for surface energy, cleanliness, and winding consistency.
According to industry studies (e.g., FTA’s FIRST 4.0 recommendations), nearly 60% of press‑side defects originate from material issues that could have been caught during slitting or pre‑press inspection. Common culprits include:
-
Uneven roll hardness causing tension spikes
-
Low dyne level on films or treated paper
-
Electrostatic charge attracting dust to the substrate
-
Telescoped rolls from poor slitting alignment

Four Critical Prep Steps for Flexo & Slitting Lines
Verify Surface Energy (Dyne Level)
For any non‑porous substrate—films, foils, or coated papers—the surface tension must match your ink and coating chemistry. Too low, and ink will dewet; too high (rarely an issue), and you risk ghosting.
How to do it right: Use dyne pens or test inks per ASTM D2578. Test across the web width, especially near edges where corona treatment may decay faster. For water‑based inks on films, aim for ≥ 40 dyne/cm; solvent‑based can work from 38 dyne/cm but higher is safer.
Common mistake: Testing only at the roll start. Corona treatment can fade over time or unevenly across the roll. Test at the beginning, middle, and tail of each roll.
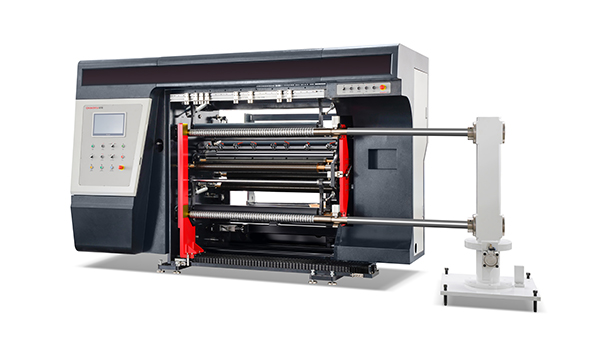
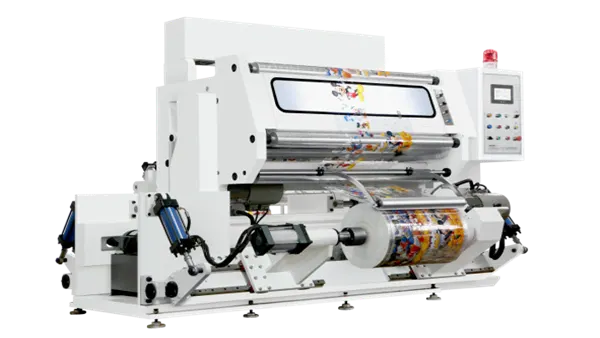
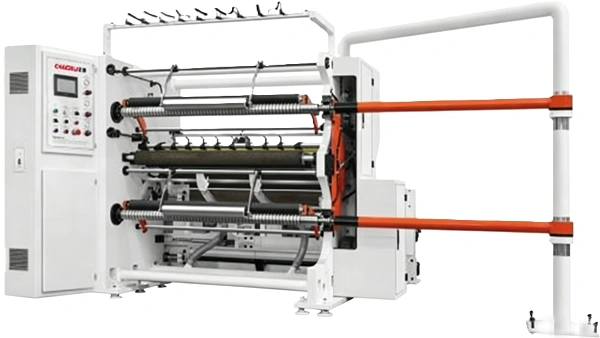
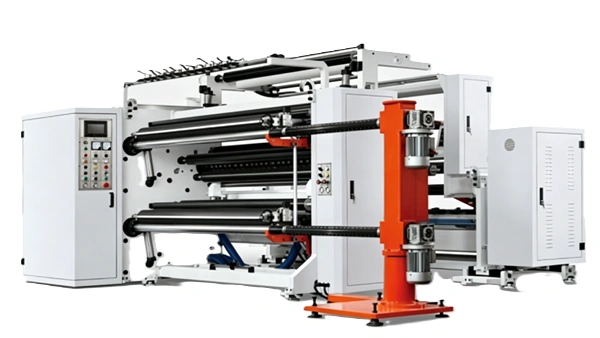
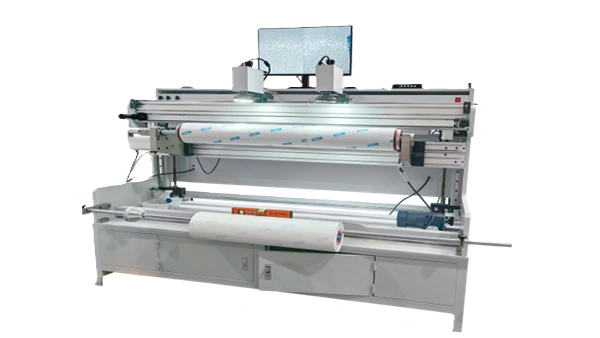
Control Web Tension Before Slitting
Slitting lines are often where winding defects are born. If your slitter is set to the wrong tension profile, the rewound roll will have soft or hard spots that later cause web wander on the press.
Best practice: Measure roll hardness with a durometer (Shore A scale) across the roll face. Variation should stay within ±3 points. Also, verify that the slitter’s rewind tension is tapered—usually 5–10% reduction from core to outside diameter, depending on material type.
Eliminate Static Electricity
Static isn’t just a nuisance—it’s a defect generator. Charged substrate attracts airborne dust, which transfers to plates and anilox rolls, causing pinholes or hickies. Worse, static shocks can endanger operators near the unwind.
Effective countermeasures: Install passive or active static eliminator bars (e.g., antistatic tinsel, ionizing bars) at three key points:
-
Unwind after the splice table
-
Before the first printing unit
-
At rewind or sheeting section
For high‑speed lines (>200 m/min), consider closed‑loop static monitoring systems that automatically adjust ionizer output.
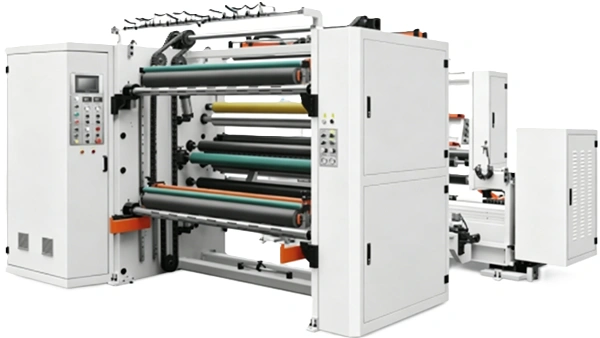
Inspect for Slitting Defects – Edge Burrs and Dust
A poorly slit edge leaves micro‑burrs that shed fibers or film debris onto the web. This dust accumulates on anilox rolls, causing cell plugging and inconsistent ink transfer.
- What to look for: Run your finger (carefully!) along the slit edge. Any roughness or “feathering” indicates dull slitter blades or incorrect shear angle. Also, use a black felt cloth to wipe the roll edge—if you see white specks, you have a dust problem.
- Preventive action: Schedule blade changes based on linear meters cut, not time. For abrasive materials (metallized films, heavy paper), change slitter blades every 50,000–80,000 meters.
Real‑World Case: A 30% Waste Reduction Story
A mid‑sized flexible packaging printer in Southeast Asia approached us after suffering frequent press stops due to web breaks. Their production logs showed breaks consistently occurred near the roll core, suggesting a winding issue.
We audited their slitting line and found two problems: (1) the slitter’s rewind tension was linear (no taper), and (2) the idler rollers were misaligned by 2 mm, causing edge stress. After retraining the slitter operator and adjusting tension taper to 8% from core to surface, web breaks dropped by 70%, and overall material waste fell from 12% to under 4% within three months.
This kind of improvement doesn’t require a new press—it starts with disciplined material prep.
How to Integrate These Steps Into Your Workflow
Creating a simple “Pre‑Press Material Checklist” can transform your quality control. Here’s a template you can adapt:
| Checkpoint | Tool / Method | Acceptable Range | Action if Failed |
|---|---|---|---|
| Dyne level | Dyne pens (ASTM D2578) | ≥40 dyne/cm (film) | Re‑corona treat or reject |
| Roll hardness | Durometer (Shore A) | Variation ≤ ±3 pts | Adjust slitter tension |
| Static voltage | Static fieldmeter | <2 kV (near web) | Add/move ionizer bars |
| Edge dust | Black felt wipe test | No visible particles | Replace slitter blades |
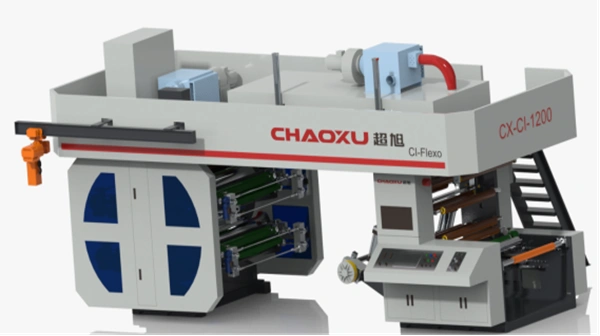
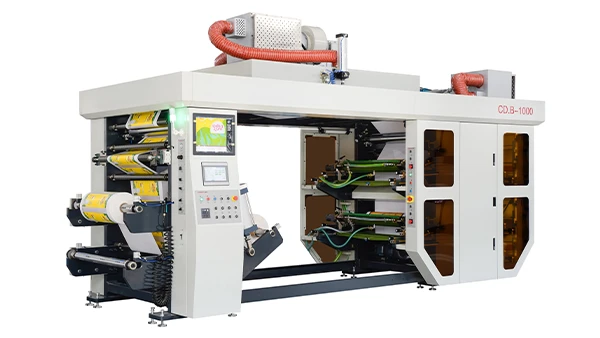
Once your checklist is in place, the next logical upgrade is to automate these verifications inline. For converters running high volumes, real‑time surface treatment monitors and closed‑loop tension controls on the slitter deliver consistent, repeatable results. If you’re curious about how to integrate such automation with your existing line, explore the automation options available for flexible configurations.
When Material Prep Isn’t Enough – Looking at the Whole System
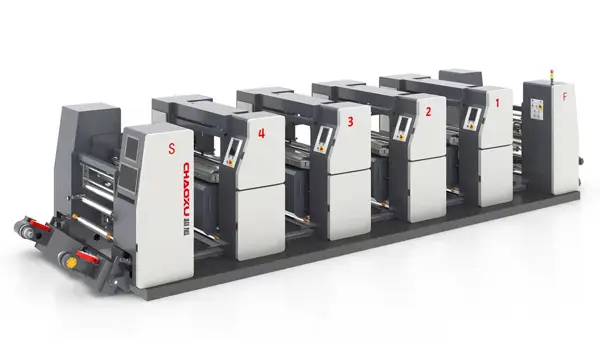
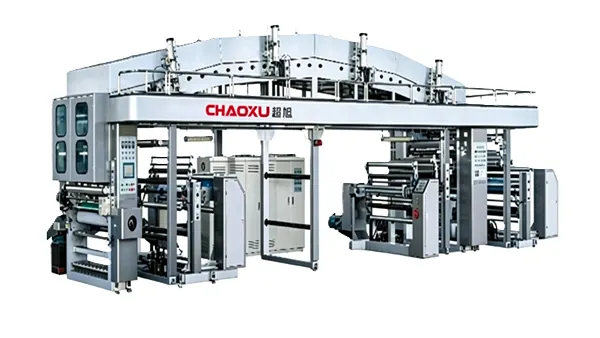
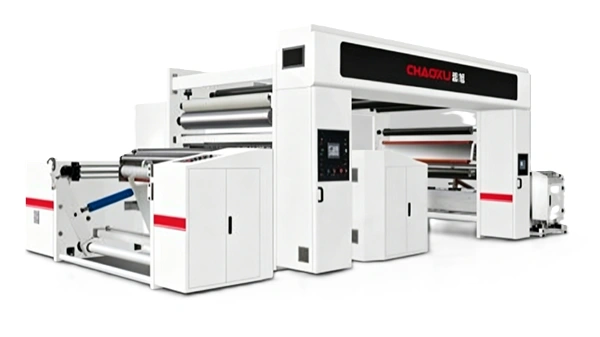
Even with perfect material preparation, a flexographic printing machine still needs proper setup: anilox selection, plate mounting, and impression settings. But when you start with a defect‑free substrate, every downstream process becomes easier. You’ll see faster makereadies, longer plate life, and sharper print.
That said, some print defects mimic material issues. For example, repetitive spots with a fixed pitch often point to a damaged anilox roll, not dirty film. Always cross‑check your material inspection results with press symptoms.
Final Takeaway: Build a “Before Printing” Culture
The most successful printing plants I’ve visited don’t treat material preparation as an afterthought. They empower slitter operators and material handlers with the same quality mindset as press operators. They run weekly cross‑functional reviews of waste data, and they invest in training that covers the entire web path—from the mill’s roll to the finished product.
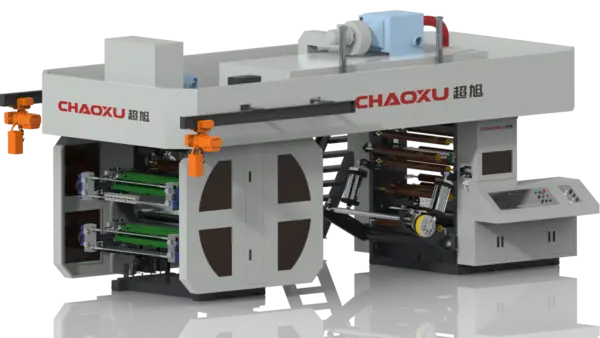
If you’re looking to reduce variability across your slitting and printing lines, start by auditing your material prep process using the steps above. And when you’re ready to see how a fully integrated approach—from unwind to rewind—can boost your consistency, check out Chaoxu’s material handling solutions. You’ll find resources tailored to converters who want to move beyond firefighting.
What’s your biggest material‑related headache on the press? Is it static, slitter dust, or inconsistent roll hardness? Drop us a line—we might cover your question in a future deep dive.
Disclaimer: Specific technical parameters (e.g., dyne levels, tension taper percentages) are general recommendations. Always follow your material supplier’s specifications and press manufacturer’s guidelines.