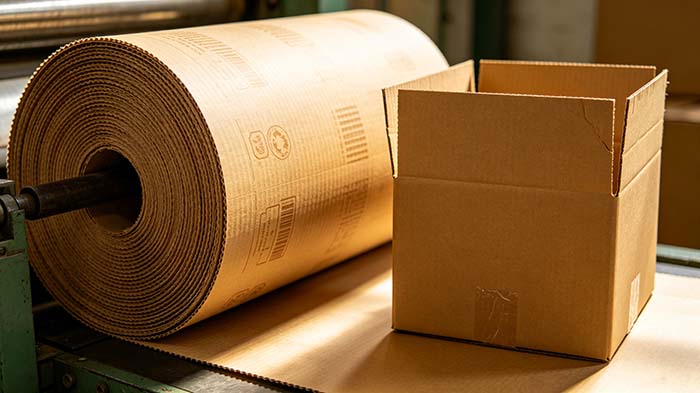
For packaging converters, producing high‑graphics corrugated boxes efficiently often means choosing preprint. Unlike post‑print, preprint prints the liner before it is laminated to fluting. Among all printing methods for preprint, flexographic printing dominates thanks to its speed, cost‑effectiveness, and ability to handle wide rolls.
But how does the flexographic process actually work on corrugated preprint? Below, we break down every stage, from roll loading to finished liner, and highlight critical parameters that affect quality.

1. Unwinding and tension control
The process starts with a large roll of liner paper (typically kraft or test liner). The unwind station must provide constant, low‑tension control – too much tension stretches the paper, causing register errors; too little leads to wandering and wrinkling. Modern preprint lines use closed‑loop load cells to maintain ±1 N/m accuracy.
2. Corona treatment
Before any ink is applied, the liner passes through a corona treater. This raises the surface energy of the paper (from ~35 dynes/cm to >42 dynes/cm), ensuring water‑based or solvent‑based inks adhere properly. Without this step, ink may “dot” or rub off. Many packaging specifiers require a minimum of 40 dynes/cm as per ASTM D2578.
3. Anilox roll – metering the ink
The heart of flexographic uniformity is the anilox roll. This engraved ceramic roll picks up ink from the chambered doctor blade system and transfers a precise, controlled volume to the plate cylinder.
Key parameter: Line count (LPI). For corrugated preprint – where solid coverage and fine type are both needed – anilox rolls typically range from 250 to 600 LPI.
4. Plate cylinder and photopolymer plates
The image carrier is a photopolymer plate. For preprint on corrugated liner, plate hardness is usually shore A 35–45 – soft enough to kiss the rough paper surface without excessive dot gain. Plates are mounted onto the plate cylinder using stickyback tape or magnetic sleeves.
5. Impression setting – the “kiss” principle
Unlike gravure or offset, flexographic printing uses light impression pressure – often described as a “kiss” between plate and substrate. The impression cylinder pushes the liner against the plate cylinder with just enough force to transfer ink. Over‑impression causes “halo” (dark edges) and increased dot gain. For preprint on 200–400 gsm liner, recommended impression setting is 0.05–0.10 mm beyond contact.
6. Drying / interstation drying
Because preprint runs at high speeds (150–300 m/min on modern machines), each colour must be dried before the next is applied. Between print stations, hot air is directed onto the printed liner. Water‑based inks require longer drying zones; porous paper absorbs some ink vehicle, so you need higher drying capacity to avoid “set‑off”.
7. Rewinding and quality check
After the final colour, the printed liner is rewound into a roll. Quality checklist: register accuracy (±0.3 mm for most corrugated applications), dot gain (<20% at 50% tint), ink density (ISO 12647‑6), and abrasion resistance. The rewind roll then goes to the corrugator.
Critical factors that separate good from great preprint
Based on field data from packaging plants, three factors have the largest impact:
-
Anilox cleaning schedule – Dirty anilox rolls reduce volume by 15–30% within a single shift. Automated cleaning with ceramic‑safe chemistry every 8 hours is best practice.
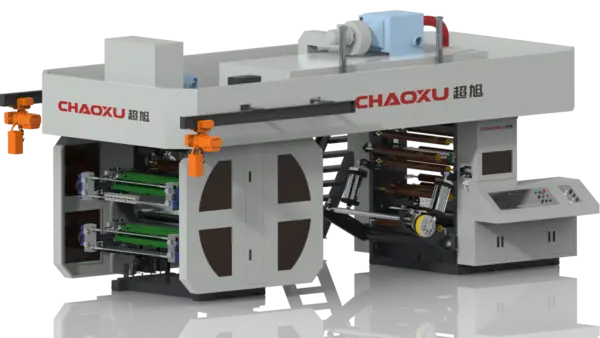
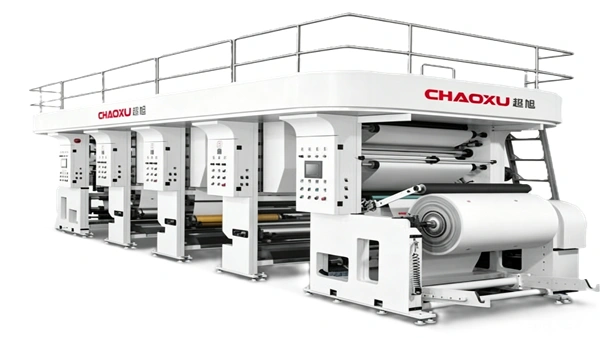
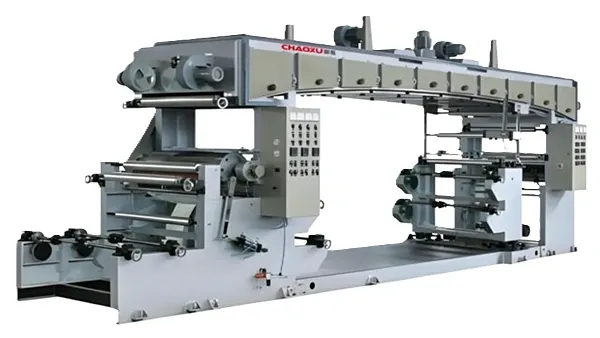
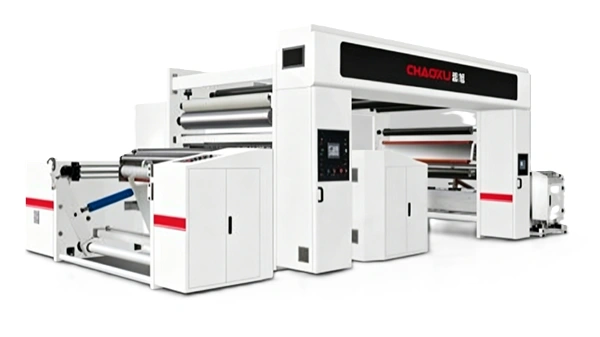
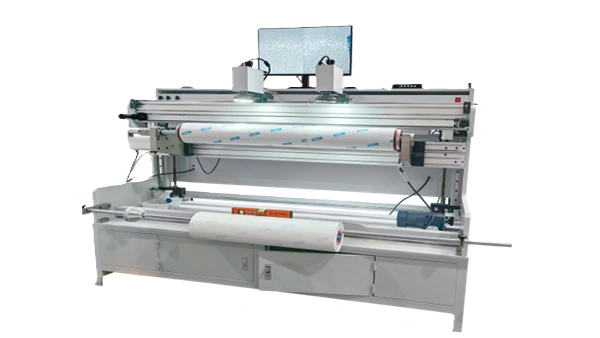
If you’re looking for a printing system that supports quick anilox change and automated cleaning, check Chaoxu’s dedicated preprint equipment. -
Plate tape selection – Different foam densities change dot gain by up to 8%. For corrugated liner, a medium‑density tape (0.5 mm thickness, shore A 55–65) works for most solid+screen jobs.
-
Viscosity control – Water‑based flexo inks should be maintained at 20–25 seconds. A deviation of ±3 seconds changes colour density noticeably.
Common preprint defects and how to avoid them
| Defect | Root cause | Fix |
|---|---|---|
| Gear marks | Worn drive gears or impression cylinder bearings | Replace bearings, check gear backlash |
| Streaking | Dirty or damaged anilox roll | Deep‑clean or re‑ceramic roll |
| Poor solid density | Low ink viscosity or insufficient anilox volume | Increase viscosity, use a lower LPI roll |
| Ghosting | Uneven plate mounting or a worn plate | Remount with new stickyback, replace plate |
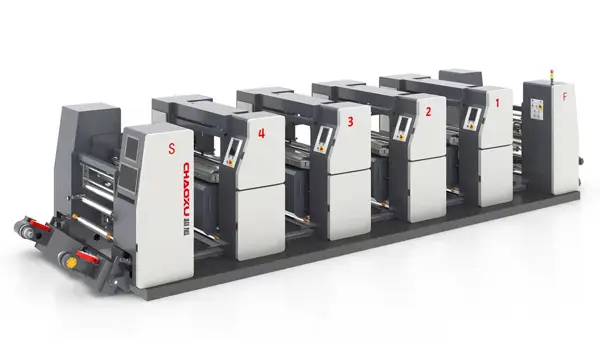
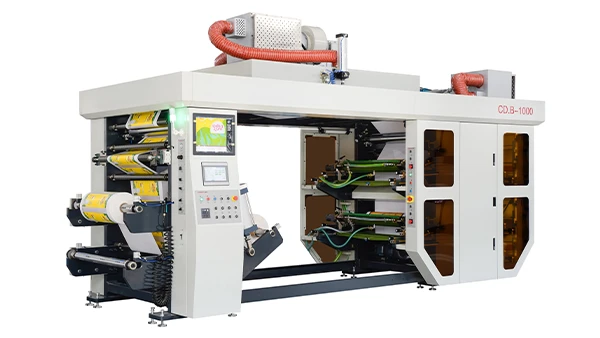
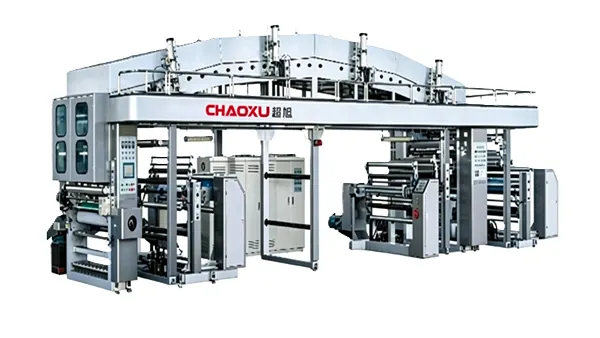
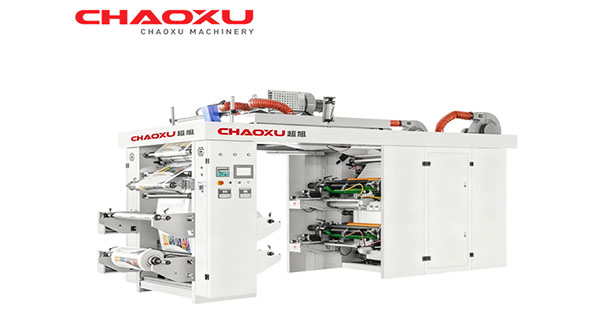
To eliminate gear marks and streaking at high speeds, a servo-driven press offers closed-loop register control. Explore a servo press lineup.
When to consider upgrading your preprint equipment
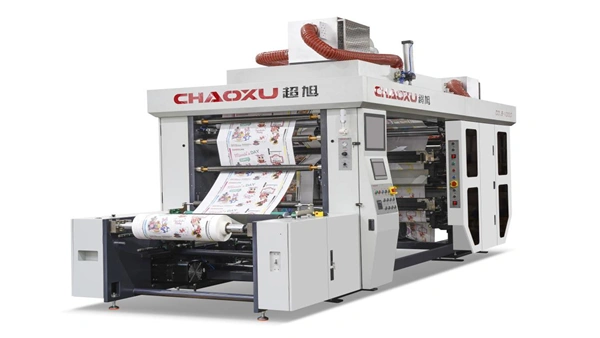
If your current flexographic preprint line struggles with register accuracy above 200 m/min, or if you frequently see colour inconsistency from roll to roll, it may be time to evaluate a modern printing system. Newer servo‑driven presses reduce waste from 8–10% down to 2–3%.
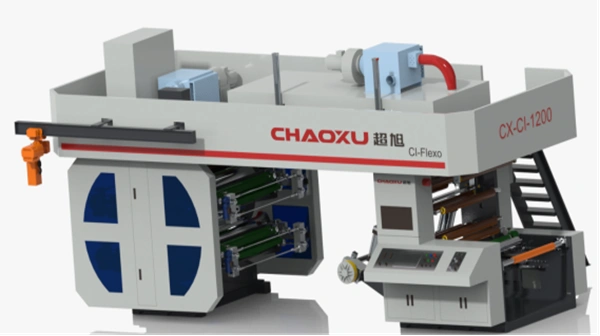
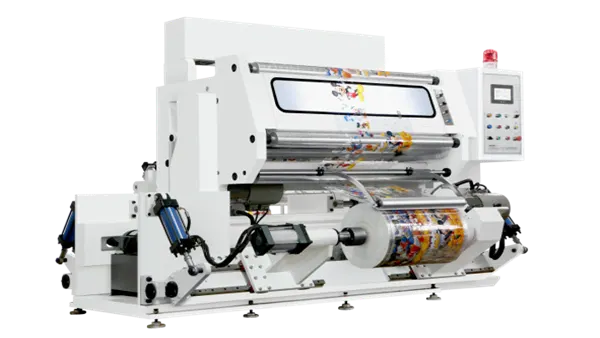
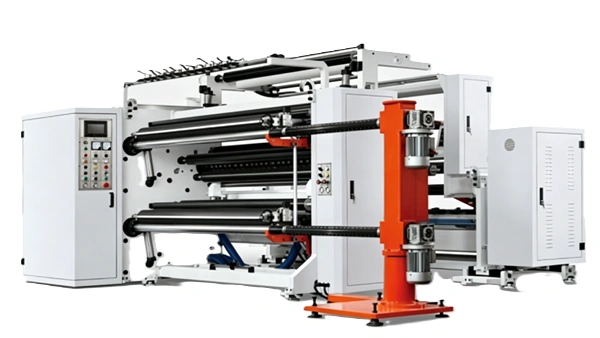
For converters who need consistent preprint quality on heavy‑duty corrugated liners, investigate Chaoxu’s modular printing systems.
Final thoughts
Flexographic printing for corrugated preprint combines mechanical precision, chemistry, and material science. By controlling tension, anilox volume, impression pressure, and drying, you can achieve vibrant, durable graphics. Start with the fundamentals above – then systematically optimize each parameter.
If you need a reliable partner to help scale your preprint capacity, consider exploring the printing systems offered by Chaoxu.
Note: The images in this article are for reference only.